CARMA Eclipse plugin: Quick Starting Guide
After the installation of the CARMA Eclipse Plug-In you can start specifying your first system in CARMA.
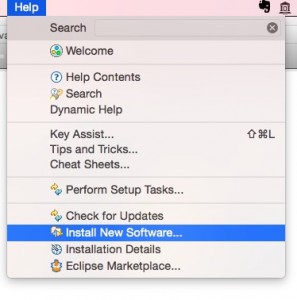
First of all a CARMA Project has to be created. Select File -> New -> Other…
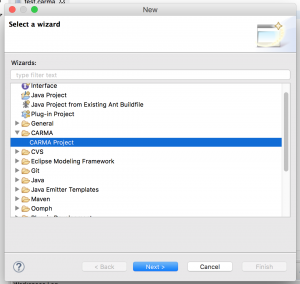
After that select CARMA Project under the CARMA category and click on button Next:
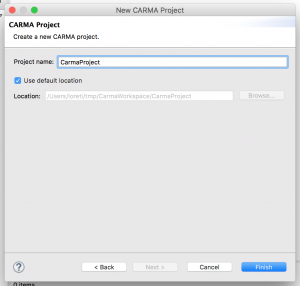
Give a name to the project and click on Finish.
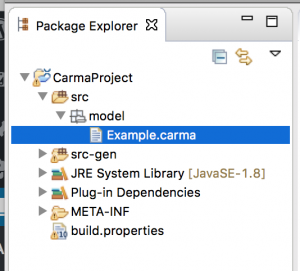
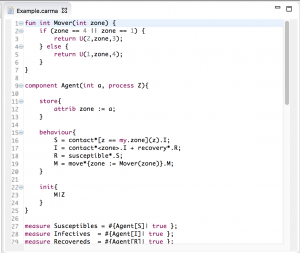
The New CARMA Project Wizard creates a new project in the current Workspace. In the project you can find a simple CARMA specification that is used to illustrate the basic structure of a .carma file:
Warning: The New CARMA Project wizard installs in the created project all the required Eclipse bundles. If you open or create a .carma file in a different project you can access to the syntax highlight features but you cannot use the simulation tool provided with CARMA.
Double-click on Example.carma to open the editor.
Given a CARMA specification, the CARMA Eclipse Plug-in automatically generates the Java classes providing the machinery to simulate the model.

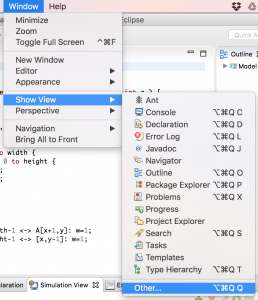
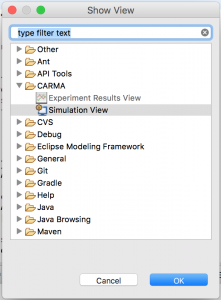
To access the simulation features, a user can use the Carma Simulation View:
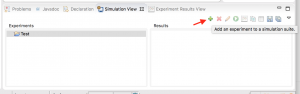
In the view the following commands are available:
 Add a new experiment to the selected project;
 Delete the selected experiment;
 Edit selected experiment;
 Save all experiments;
 Save the experiments of selected projects;
 Run selected experiment;
 Copy selected experiment;
 Plot experiment results;
 Save experiment results into CSV a file.
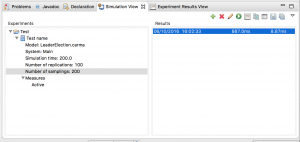
Carma Simulation View can be used to create new experiments
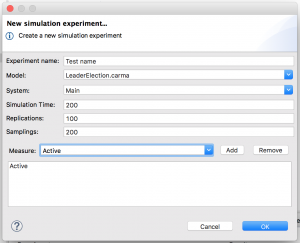
after that a dialogue box pops up to choose the model and the system to simulate and the appropriate values to execute the simulation:
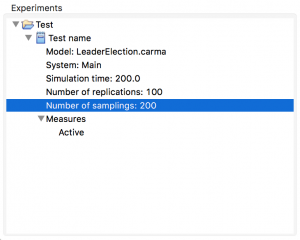
The experiment is then created and added in the view:
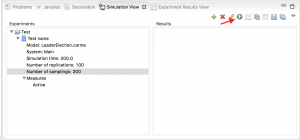
A simulation experiment can be selected and then executed:
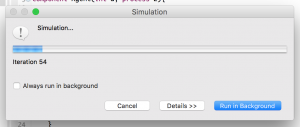
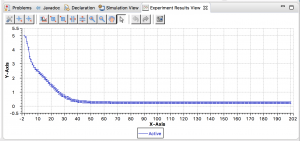
When the simulation completes, collected results are reported in the view and can be plotted chart_line in the Experiment Results View or saved in a CSV file datasheet.
Experiments can be saved inside the project via buttons to let them available for further analysis.